To convert WMV files to DivX (AVI) you need this programs:
DivX codec
TMPGEncoder
Graphedit(for convert audio) + filters
Virtualdub
Index:
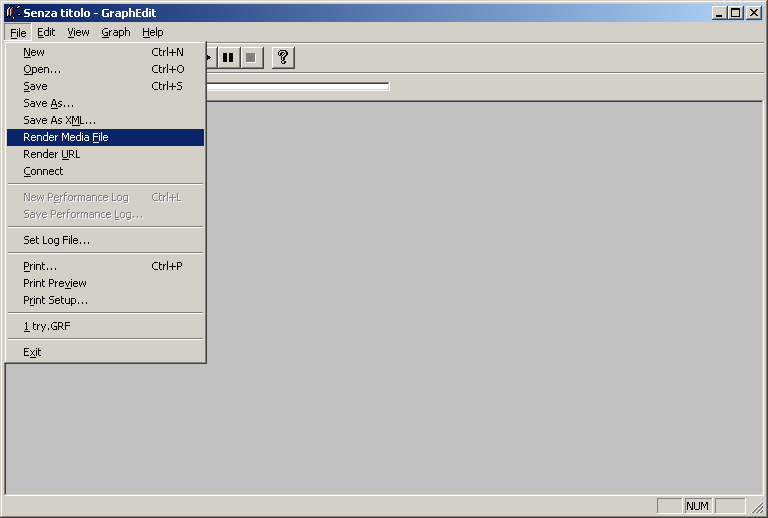
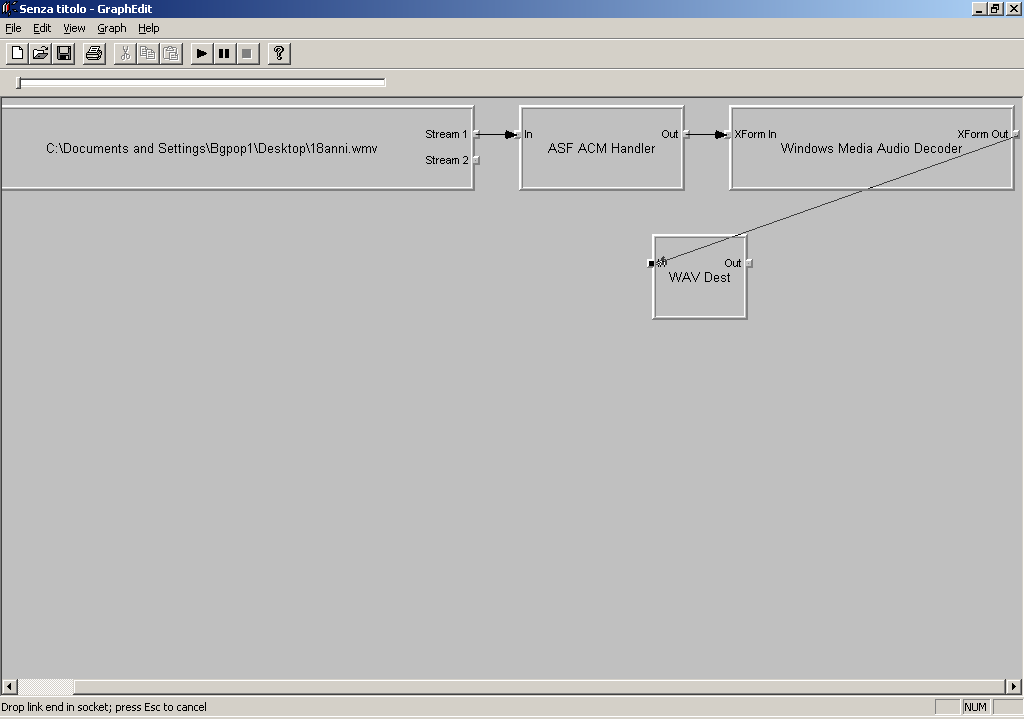
Let's start Graphedit:
Click on File --> Render Media File and choose the WMV to convert.
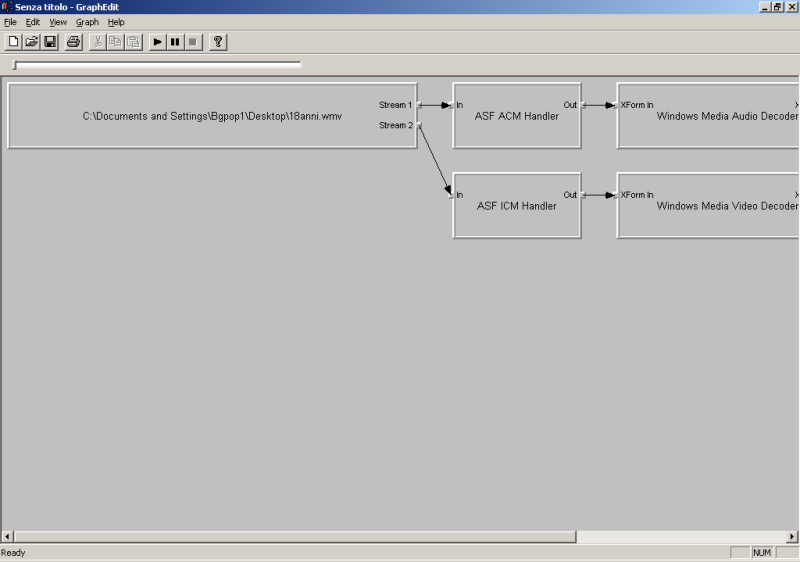
A Graph will be built, now you should see the graph into the image on the left. Click on the Play button to see if that works. If appear a window that play the video, it's OK and we can continue...
Otherwise, retry...
Click on "stop" to stop the video.
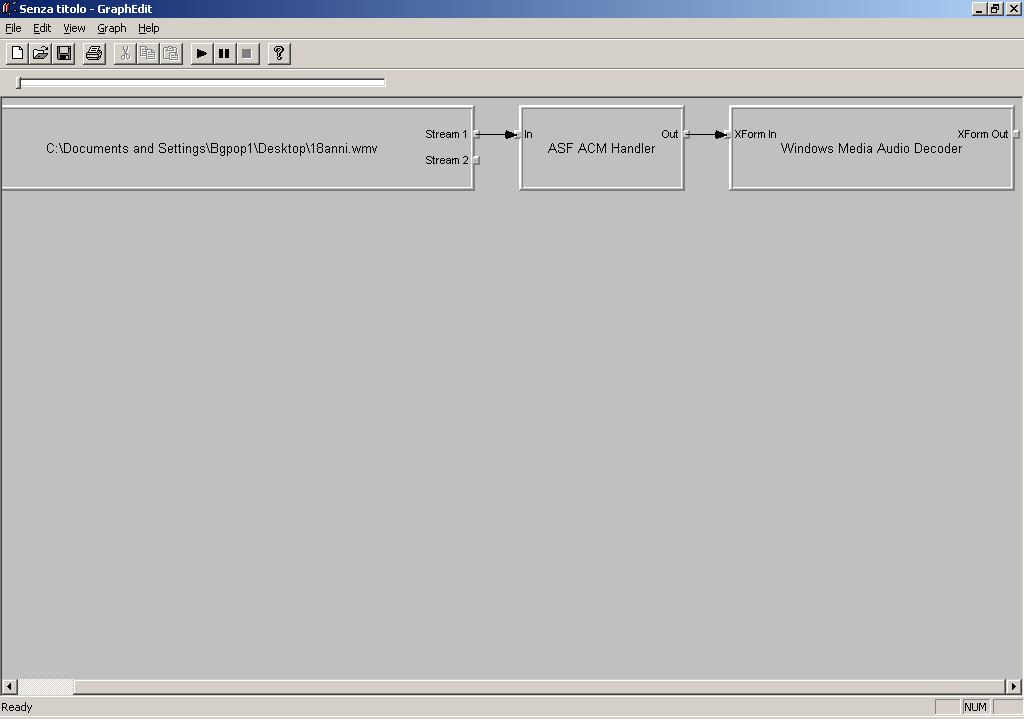
We must work only on the audio, then delete all the filters video from the graph to have ONLY that you see on the image below.
Now we must save the file as WAV. Click on Graph --> Insert filters

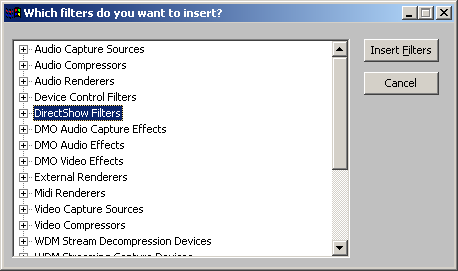 Open DirectShow ...
and choose "WAV dest". Now click on "insert filters" and a new filter will be inserted on the graph.

Link the new filter to the others: link "XForm Out" of "Windows Media Audio Decoder" to "In" of "WAV Dest"
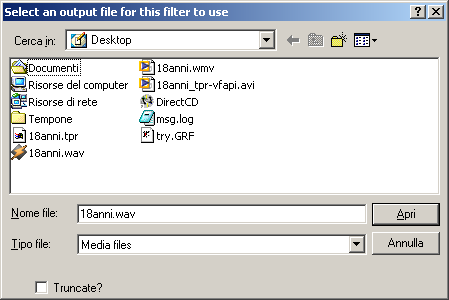 Next thing: File --> Insert Filters --> DirectShow --> "File
Writer" --> Insert Filters. A window will open: type the name of the file audio
(something.wav). Link this filter to the filter "WAV Dest".
Next thing: File --> Insert Filters --> DirectShow --> "File
Writer" --> Insert Filters. A window will open: type the name of the file audio
(something.wav). Link this filter to the filter "WAV Dest".
Click on "play" and wait....
When Graphedit will have finished, load the wav file that you have created into windows media player: if play good, close Windows Media Player and follow the new step: video
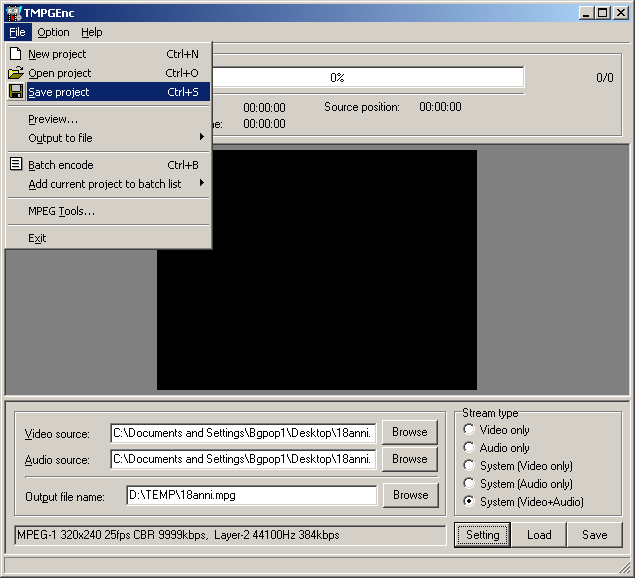
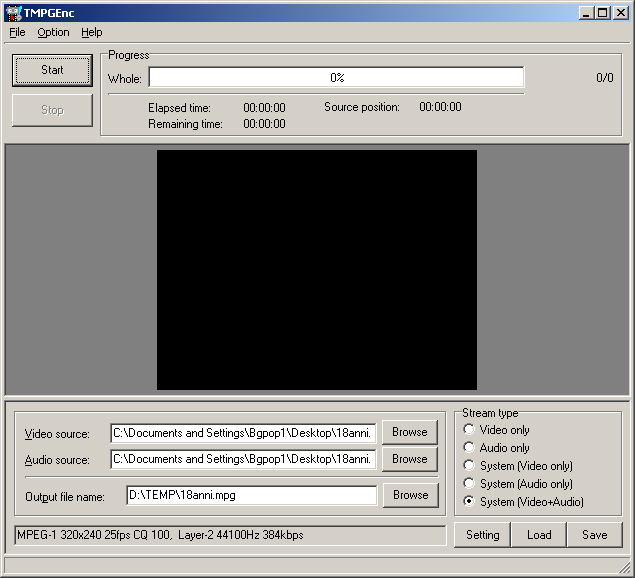 Open TMP Encoder. Click on button "Browse" of
"Video source", select "All file (*.*)", then open the WMV to convert.
Now wait some seconds... The next step is to set the program: click on settings, and a new
window will open...
Open TMP Encoder. Click on button "Browse" of
"Video source", select "All file (*.*)", then open the WMV to convert.
Now wait some seconds... The next step is to set the program: click on settings, and a new
window will open...
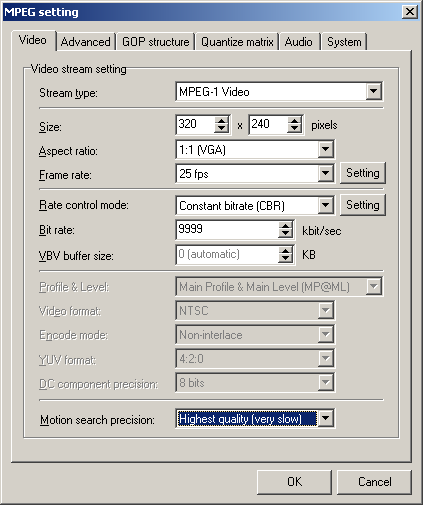
Be sure that the settings are exactly as the image on the left (with the exception of "Frame rate" and "size", where you must insert the resolution and the framerate of file WMV.
When Done, click on OK.
 Select "Video Only".
Now click on File-->Save project, then give a name to the file .tpr. When done close the program (ignore messages of errors). Then close TMPGEnc.
Now Start VFAPI converter (be sure that vfapi codec is installed first). Be sure to NOT delete anything of the files that you have used up now.
Select "add job", then select the file .tpr (Es: 18anni.tpr) that you have saved earlier.
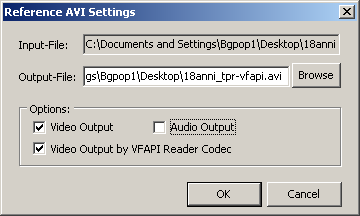 Be sure that the window will be as the image on the left, then
click "OK"
Be sure that the window will be as the image on the left, then
click "OK"
Click on "convert" and it's done.
The next thing: muxing audio/video:
Start Virtualdub and open the file .avi created by VFAPI.
Click on Audio --> "WAV File" and select the wav file created by Graphedit.
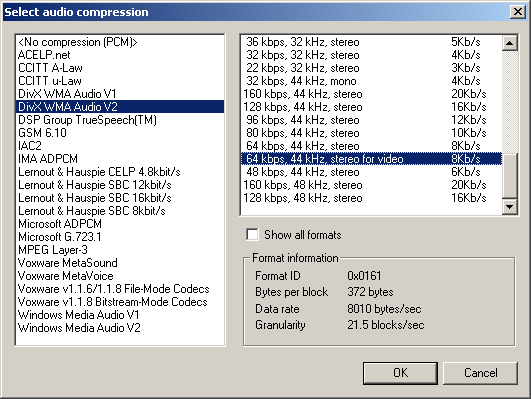
Click on Audio --> "Full processing mode". Then click on Audio --> "Compression...". On the next window select the codec that you want to use and the bitrate. (remember that DivX audio can't compress at bitrate higher that 64kbit/sec)
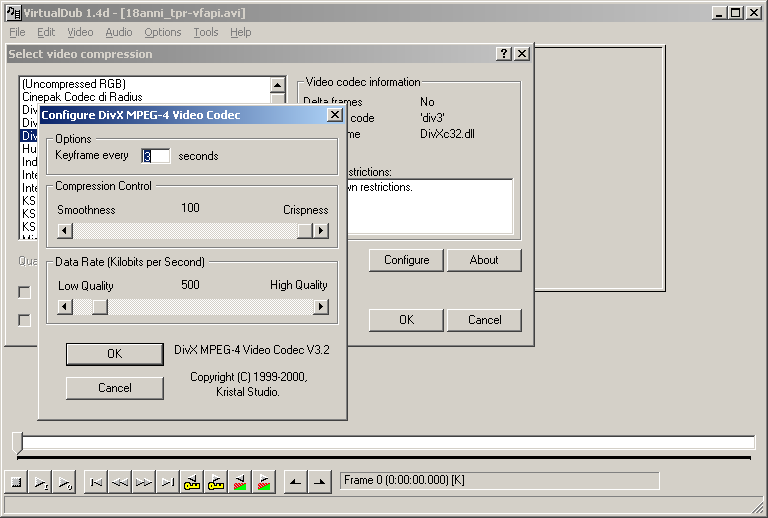
Now for the video:
Click on Video --> Compression..., then select the codec that you want to use (DivX Low motion preferred if bitrate >500, High motion if bitrate < 500). Click on "configure": a window will open; configure the codec here, then click on OK
If your want, insert some filters, then click on File-->"Save as AVI". Into the window that will appear insert the name of the final avi.
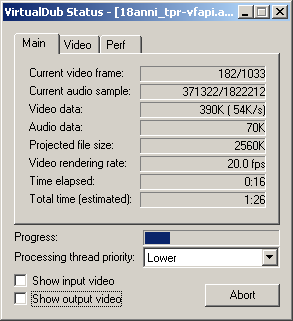 Throughout the process Virtualdub give information of the work that it do.
My advice is to deselect "Show Input video" and "Show output video",
because they slow down the process.
Throughout the process Virtualdub give information of the work that it do.
My advice is to deselect "Show Input video" and "Show output video",
because they slow down the process.
The work is done!!!
Now enjoy!